Happy New Year!
New Year, new sketch right?
Today I'm sharing this layout based on the sketch from SIT:

Check out there fb page and play along!
Angela
Happy New Year!
New Year, new sketch right?
Today I'm sharing this layout based on the sketch from SIT:
Check out there fb page and play along!
Angela
My last post for the year!
I can't believe it.
But I'm ending on a fun one for sure:
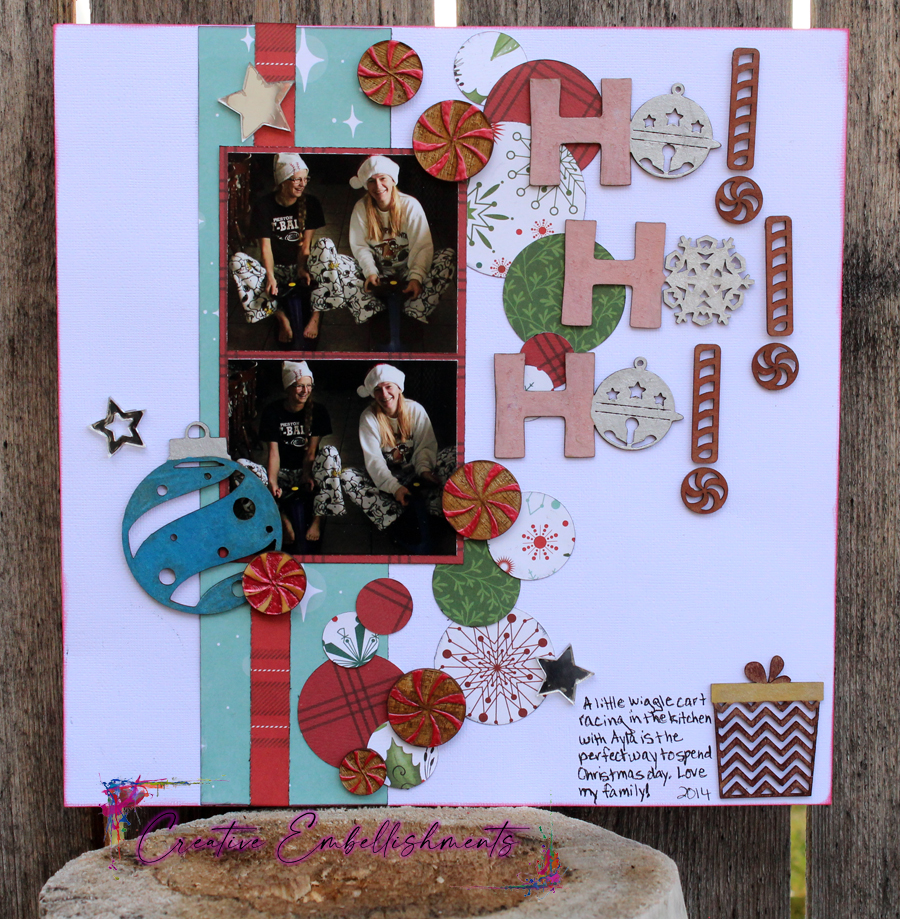
Moments like these are the best!
I don't get to scrap them very often because I'm usually the one behind the camera so I really, really love that someone thought to grab the camera and take pictures of my "racing" my daughter on the new wiggle carts we got for Christmas. So much fun!

For all of my H's on my Ho!, Ho!, Ho! title I used metallic chalk marker, on the bells I used the same in white and then for the snowflake O I used the matte white chalk marker. For the ! I used red ink pad.

This cute little present is from the Gifts Set 3.
I used ink pads and gold metallic marker.
Don't forget the magical touch of a few acrylic stars to really get some pop on your layout!

To finish up I had this super fun Spiral Bauble and used the blue metallic chalk marker with some silver for the top piece. Then I added a bunch of the wood veneer Peppermints with just a touch of red liquid pearls to give them some more color.
I hope you have a fabulous holiday and get to spend lots of time with your loved ones doing whatever it is that makes your heart happy!
Thanks for stopping in!
Angela dt
Hello!
I have a fun one today.
Every now and then I remember to get myself in a photo and this night I took one with my husband once we got back to the car. I really love how this layout turned out. I hope you like it too.

I really, really LOVE this little Scrawny Tree and how it represents the best of Christmas.
Way too often Christmas is commercial and I'm super over it, so this tree and the quote from Charlie Brown was perfect of this layout.
I used markers, chalk marker and just a touch of liquid pearls on my tree.

For the word Treasure from the Small Moments Border Words I used metallic chalk marker.

And my title piece is from The Little Things set.
I used ink pads to color it.
Then I added the fun Mini Holly and used liquid pearls to decorate it.

Thanks so much for coming by!
I hope you have the best people around for your holiday!!
Angela dt
Last month of 2023 are we ready?
Don't answer that!
But I'm always up for a fun layout:

We have lots of sitting on Santa's lap photos right?
So here's one way to scrap them.

I've used one of the pieces from Santa s Sleigh set for this.
I just left the chipboard naked because it's perfect with my layout!
Then I added some of the awesome acrylic Silver Stars.

Here I've used the Presents border and Whimsical Trees 3.
I wanted to use the acrylic silver stars to decorate my tree, but I didn't have enough small ones left.
I think I will buy some more and use them on a layout in the future because that would be a fantastic way to decorate a tree!
Thanks for spending some time with my today!
Angela dt
Hello!
It's the last month of the year!
It's so hard to believe. The years just keep flying by faster and faster.
Today I'm sharing this fun layout based on a sketch from Sketches In Thyme.
Check out their fb page and play along!

Thanks!
Angela
Morning everyone!
Today I'm sharing a layout of my son from a fall photo shoot.

Every now and then I get busy scrapping along and add a tag to something that I want to put extra special journaling on, but wait until later to do the journaling. That is the case here.
I forgot and took the photos before remembering to add the journaling to the little card behind the photo. lol

So here I have a chipboard heart from this fun little pack where many of the Hearts will nest inside of the others. I really enjoy all the different sizes that come with the set.
I've layered some of my favorite acrylic Red Hearts with it.

Here you can see I started my title with the base of 2 nested hearts then added The Best Thinks in Life title over the top. To spruce it up a bit I added some Heart Clusters that are wood veneer.
Everything is colored with ink pads or markers.
Thanks!
Angela dt
Hello my friends.
Time for me to share my layout with you.

I really love how this turned out.
I picked some pretty simple photos of my daughter working on a sewing project but with the right embellishments, you get a pretty awesome layout.

So on my title I used 2 words from the Small Moments Border Words set. I used an ink pad to add a bit of color to them and attached them with glue dots.
The acorn is wood veneer from the Acorns set. I used an ink pad on this too, but with a darker color. The chipboard and wood absorb the ink differently so sometimes I test it out on the back before applying to the front.

This fun little pumpkin is from the Pumpkins set. It has 3 in it.
I used various different colored ink pads here and you can see that some absorbed more than others.

This piece is from the Pumpkin Corners set.
I just LOVE how it turned out.
And of course the finishing touch is adding the awesome acrylic Red Leaves here and there to really set off my embellishment clusters and tie the page together.
Thanks for stopping by!
I hope you're having a wonderful fall.
Angela dt
Hello and happy November to you all!
Today I'm sharing a birthday layout.
In my family we have a couple of birthdays in November so I always have a lot of photos of present opening this time of year.
This layout, however is about my daughter making cupcakes for her birthday.

So for this cute layout I used a sketch by Rochelle Spears and the first thing that grabbed me was the banner in the corner. I knew the Happy Banner from the Birthday Fun wood veneer set would be perfect for this layout.
I also used the cute little party hat over the photo of cupcakes.

For all of these pieces I used markers to color and add details.

These fun candles are from the Birthday Candles chipboard set and my Happy Birthday is from the Small Sentiment Words set.
I used markers to color these too and to add the polka-dots to the candles.
I hope you have lots of fun family time this month and time to scrap a few of those moments too.
Angela
Using the sketch from Sketches In Thyme for week 2 of Nov,
I've created this fun layout of my little Sugar bug.

Thanks for stopping by!
Remember to join the fb group to see what other sketches and layouts are shared every month.
Angela
Less than a week to Halloween!
I'm not ready.
Seriously, how can the best holiday season be nearly over already and I've barely had time to enjoy anything spooky, scary or pumpkin-y?
Life, it's crazy round here.
However, I have been getting a bit of my scrappy spook on.
Today I'm sharing a layout showcasing my son's costume from last year using some fantastic products from Creative Embellishments.

Yes, he is totally monkeying around!
He was a Gorilla but they are not allowed to wear masks at school.
So we drew some bananas his cheeks and he filled this bananagrams bag with banana flavored laffy taffys to share at school.
He had so much fun and most people thought he was pretty funny.


We'll start with our gorillas.
The one swinging up top is from the Gorilla set
and the one in the second photo is from the Gorilla 2 set.
For both I put a base of matte white chalk marker and then used a brown ink pad to get the fur look and finished it on the edges with a bit of black ink pad.

When I was looking through my Halloween chipboard I saw the Zombie hand and thought it would be funny to have it reaching in for his banana. lol I love it!
I used the base layer of matte white chalk marker on all my chipboard pieces for this layout and then added some metallic silver over that and finished up with a bit of green distress crayon.
I think it looks plenty rotted.

I used a simple title to keep the focus on the photos and fun embellishments. This is from the Happy Halloween Word Set, with orange gel crayon layered on top.
Next up the Banana. I only used yellow gel crayon here, but then took a pin and cleared the little cuts in the chipboard on the banana so they clearly showed the lines in it.
And the finishing touch, these creepy eyes on a flair button from the Boo Flair set.
I hope you have a fabulous, lasting just as long as you wish, Halloween!
Have a spooky rest of your month!
Angela
Hello!!
I had so much fun creating this next layout!
I love it when my kids get creative and put together their own costumes, but I love it even more when the costume is creepy, scary or spooky.
So what did my son come up with for Halloween of 2020?

What better than a Plague Doctor costume?!!
I loved every minute of this and he loved the extra treats and toys he got from some houses that also loved his clever costume.

Up first is our Plague mask; it's under Crow Skull mask on Creative Embellishments website.
I used metallic gold chalk marker and then added a little detail over the top with other markers until I like the look. I little red around the eyes never hurts. I colored the bottom and hat with black marker & then added a black acrylic skull w/ crossbones.
Can't forget my creepy spider. I used brown mark on him with a bit of red on the pincers. I need to order more, my spider stash is getting low.

Any Halloween layout can use more skulls and creepy eyes right?
This one is from the small skulls set. I used matte chalk marker and then added some detail coloring around the eyes, mouth and cracks with marker.
The eyes are from cat eyes set and are wood veneer. I colored them with red and black marker.

Now for my title. It's the All Hallow s Eve title & I freaking love it!
I used a rust red marker on most of it and them added some bright red along the bottom. Then colored the spider to match the look of a black widow. When I was done it didn't stand out against the page enough to I went around it with some chalk marker, which kind of picked up the color that was already there a bit and then I touched up the bottom with more red.
Add another black acrylic skull and this cool crow flair button from the Skull Flair set and you've got yourself the perfect layout to showcase a Plague Doctor Halloween!
Happy Spooky Season to you all!
Angela

Hello and welcome to my favorite holiday month!
Halloween is without a doubt the best holiday we celebrate.
Spooky, fun & as simple as you want to make it.

This layout is based on a sketch from Sketches In Thyme.
I love the spooky fun of Halloween so taking these sweet photos of my little guy checking out this jack-o-lantern and creating a spooky layout is exactly what I did.
Thanks for stopping by!
Angela

Today I'm getting into the weeds with some birthday photos!
Everyone has those photos that for whatever reason they just don't dig into for scrapping often right? Well, these are mine. But today, I have this fun layout to share:

I think it turned out pretty good.
Check out the details on the Creative Embellishment blog.
Thanks, Angela!
Hey my scrappy friends!
Today I'm getting into nature with a fun hiking layout and a bunch of cool nature chipboard pieces from Creative Embellishments.

I had a lot of fun coloring these cool chipboard pieces for this layout.
All of the details are on the CE blog.
Thanks
Angela
Hello, hello!
I hope you've been enjoying some scrappy endeavors lately.
Today I'm sharing a back to school layout based on a sketch from Sketches In Thyme.

The sketch had some really fun layering behind the photo and it worked so well for this photo.
I'm positive I will use this sketch again.
Check it out and play along for a chance to win!
Thanks for stopping by,
Angela
Hello!
Last day of August.
Man this year is flying by. I admit, I'm not ready for summer to be over.
But I have a back to school layout for you anyway.
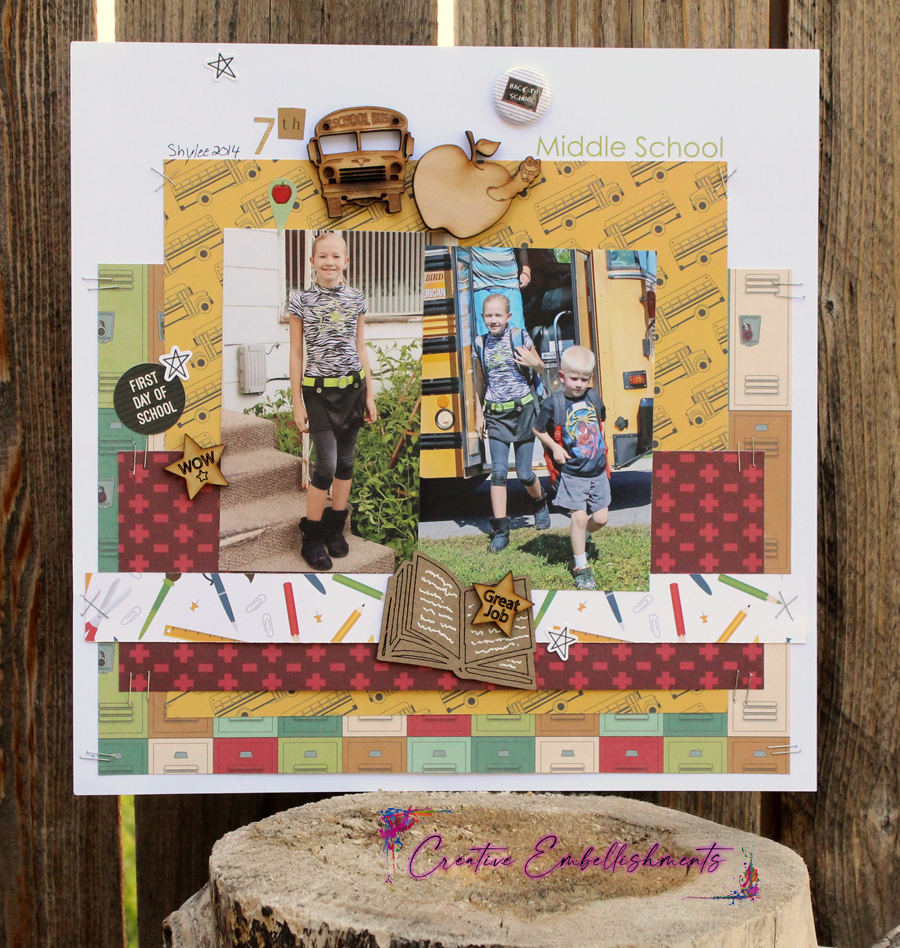
All of the details for this layout are on the Creative Embellishments blog.
Thanks for stopping in!
Angela
What's up my crafting peeps?
I hope you're having fun with the last few days of summer because it's time for SPOOKY season.
Oh yes, I am that person.
But today I'm sharing a layout of some summer fun at the lake.

All of the details for this layout are on Creative Embellishments blog here.
Thanks for stopping in!
Angela
Hello!
Today I'm sharing a layout about my daughter and her friends having a little fun for her birthday.
I'm using some fun new chipboard pieces related to water activity.
I asked for some lake/river related items and there are some really great new ones in the store now. You should totally check them out at Creative Embellishments.

The new chipboard pieces I used are the title piece and these awesome flamingo floats.
I am definitely going to need more. I love them!
You can check out details on my layout on the Creative Embellishments blog.
Thanks for stopping by!
Angela
